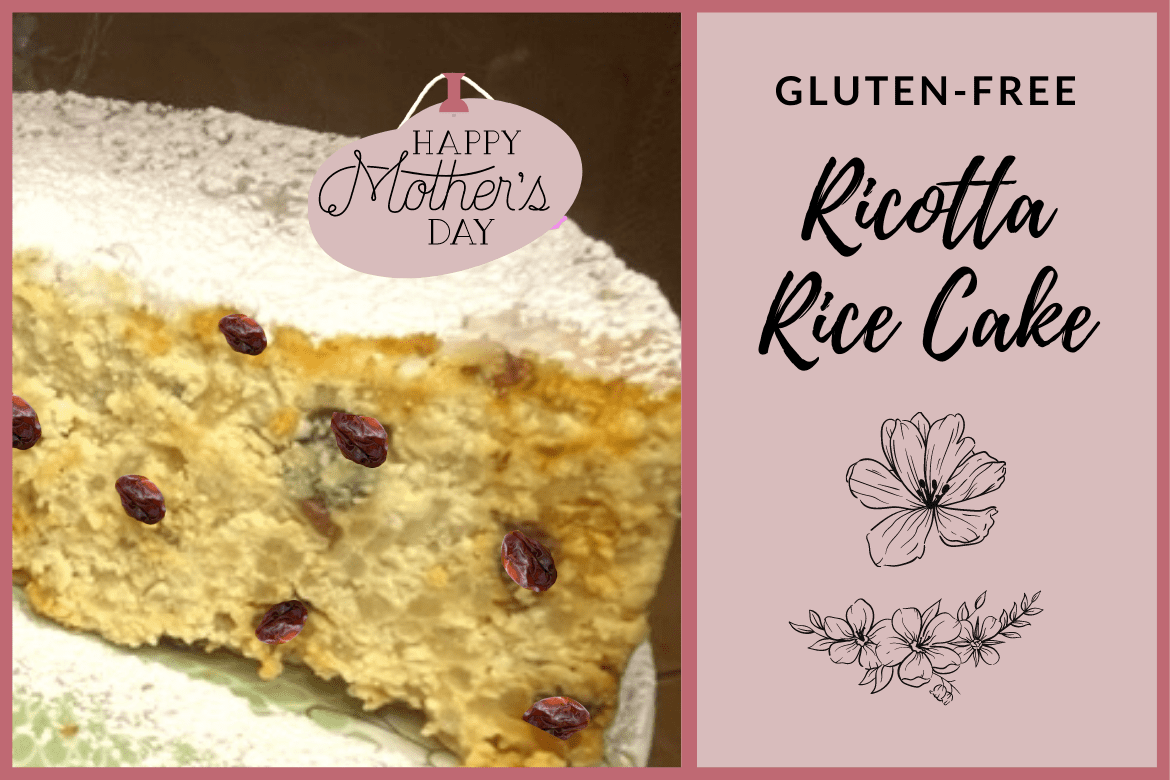
For those that have not heard of a Gluten-Free Ricotta Rice Cake, I’m going to try to explain it to you. It’s like part creamy cannoli filling, part cheesecake, and part rice pudding. I realize that is not what the picture may give off, but don’t be fooled. It has the perfect balance of cinnamon and vanilla and it would be an excellent sweet finish for any brunch, lunch or dinner.
Like many Italian desserts, it is not super sweet but it is just sweet enough. Traditionally, this cake is served at Easter, however, this light and delicious cake is good for any occasion, like say, even Mother’s Day. Once you try it, you’ll be making it year-round. It also works great as a birthday cake – and yes, I speak from experience.
Oh and if you are still looking for a special Mother’s Day gift, check out this Mother’s Day Beauty and Spa Gift Ideas list.
The Best Gluten-Free Ricotta Rice Cake Recipe
Tools
Ingredients:
- Enough soft butter to grease a 10 3/4 inch Spring form pan
- Approx 1.5 tbs Bob’s Red Mill 1 for 1 gluten-free flour
- 1 cup golden raisins
- 1 c water
- 4 cups of 2% milk, you can use homogenized milk if you like
- 1 c Arborio Rice
- 2 1/2 tbs liquid vanilla extract
- 1 tsp Club House cinnamon extract
- 1 1/2 tsp ground cinnamon
- 2 tbs of Nielsen-Massey Madagascar Bourbon vanilla bean paste (which is gluten-free )
- 1/2 tsp salt
- 1 1/2 c sugar, divided
- 3 lb ricotta
- 3 large eggs, plus 3 large egg yolks
- Icing sugar for dusting
Directions:
- Cut a circle of parchment paper to cover bottom (but not the sides) of the Springform pan.
- Butter the 10 3/4 inch Springform pan.
- Place a parchment paper circle in the bottom of the pan.
- Butter on top of the parchment paper disk.
- Dust the pan (bottom and sides) with the Bob’s Red Mill 1 for 1 gluten-free flour or your favourite gluten-free flour. Make sure it is a very thin layer and there isn’t any excess flour in the pan.
- Microwave raisins and 1C water for 1 minute in a microwave-safe bowl or cup to plump the raisins.
- Drain the water from the raisins.
- Lay the drained raisins on a paper towel on a plate to absorb excess water.
- Use a high-sided saucepan with a lid, and wipe well to ensure it is as clean as possible, for the next step.
Tip: The first step of making your rice and milk mixture is the most important. Not only do you need your rice to be cooked to a tender constancy; it is the concentration of flavour for the cake. So, make sure you like the balance of cinnamon and vanilla.
- Pour 4 cups of 2% milk (or homogenized milk) into the pan.
- Bring milk to boil over medium-high heat.
- Whisk in salt, rice, cinnamon, cinnamon extract, vanilla extract, and vanilla bean paste. Reduce heat to medium-low. Cook stirring occasionally using a spatula until rice is very tender and has absorbed all liquid. This takes about 30-50 minutes.
Tip: If rice is absorbed, but not cooked to tender, add in 1/4c extra milk and cook longer.
Tip: Halfway through cooking, taste the milk mixture. Know that it won’t be sweet, as there isn’t sugar, just to check the balance of flavour. Add in extra spices if you like. Remember to always allow the cinnamon extract to cook for a few minutes before tasting. This is because it’s very strong and will overwhelm your palate if it hasn’t had a chance to cook off
- Remove pan from heat. Stir in 3/4 C granulated sugar.
- Cover your pan with a lid. Allow to cool complexly.
- Preheat the oven to 350°.
- In a large bowl beat ricotta, remaining 3/4 c sugar, and both the whole eggs and egg yolks, using a hand mixer.
- Then on low speed, mix the cooled rice mixture with the egg and ricotta mixture.
- Gently stir in the dried raisins using a spatula.
- Pour batter into your prepared Springform pan. Wrap foil on the bottom of the pan and place it on a cookie sheet.
- Bake until the top is almost set, but has a slight jiggle in the middle- 1 hr to 1hr 30 minutes, depending on your oven.
Tip: If the edges are too brown, but the cake is not cooked- cover the edges with foil. This will allow the cake to keep cooking, but stop the edges from browning.
- When the cake is cooked, run a butter knife around the edge to loosen.
- I keep the cake in the pan until I’m ready to serve it.
Tip: If you aren’t serving the cake the same day, wrap it in plastic wrap and keep in the fridge. For best results, make the cake no more than a day ahead of time.
- When you’re ready to serve, remove it from the pan.
- Let the cake come to room temperature before serving.
- Dust with icing sugar.
- Serve with whipped cream.
This gluten-free ricotta rice cake recipe produces a light and fluffy cake that is an extraordinary finish to any meal. Know that this cake stays well in the fridge and when well-wrapped in plastic wrap or in an airtight container will last up to a week.
This one is special. Enjoy!
Happy Mother’s Day.
This gluten-free ricotta rice cake recipe produces a light and fluffy cake that is an extraordinary finish to any meal. Know that this cake stays well in the fridge and when well-wrapped in plastic wrap or in an airtight container will last up to a week.
Ingredients
Tools
Ingredients:
INSTRUCTIONS/NOTES/TIPS
NOTES/TIPS


