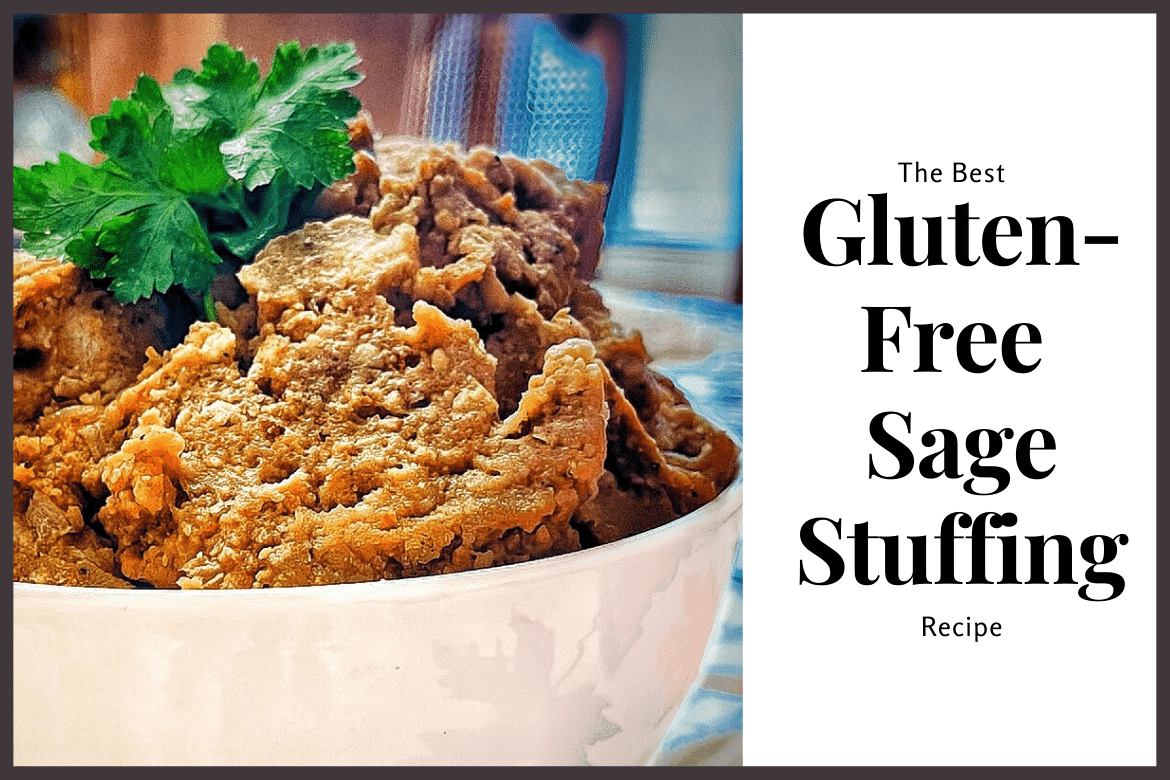
During the holidays, traditional sage dressing is something that pairs perfectly with cranberry, turkey and gravy. Being gluten-free does not mean that you can’t still enjoy this classic holiday favourite without compromise thanks to our best gluten-free sage stuffing recipe.
You can enjoy this stuffing any time of the year. You can also try changing up the seasoning to make it your own. The best part is that this gluten-free sage stuffing can be made using items from our recommended gluten-free pantry staples list (with printable inventory form).
The Best Gluten-Free Sage Stuffing Recipe
Instructions:
- 1 loaf 450g) of gluten-free bread – I used Kinnikinnick white bread, which is 454g
- 1-1 1/2 cups vegetarian chicken stock (you can use chicken or vegetable stock)
- 1/4 c butter (vegan butter, lactose-free butter, or oil are fine)
- 2 small onions, diced.
- 3/4 tsp of salt
- 1/2 tsp pepper
- 1 tsp granulated onion
- 11/2 tbs ground sage
- 1/2 c gluten-free breadcrumbs– I used President’s Choice brand – any kind of white gluten-free bread crumbs other than panko are fine.
Directions:
- If bread is frozen, thaw bread overnight.
- Cut bread into cubes.

- Place cubes of bread onto a parchment-lined cookie sheet.

- Turn on the broiler in the oven.
- Dry bread out in the oven under the broiler for 1-2 minutes.
- Turn bread cubes over and put them back in the oven for 1-2 minutes more.

Tip: You don’t want the bread to get completely toasted. You’d like it to be light and dried out. You may need to rotate the pan to get an even toasting.
Tip: If your bread is still frozen, leave it in the oven longer. You could even put it in a 300° oven for 5 minutes.
- Remove the pan from the oven and place the cubes in a large bowl.

- Pour 1 cup of stock over bread.

- Using a spatula, stir bread and stock together- gently breaking the bread down. You want the bread to soften into the stock. The bread should become almost mushy.

Tip: Don’t let the stock pool in the bottom of the bowl.
- Add in up to 1/2 c of stock. If you need to add more liquid, add it in slowly, because you don’t want the bread to become soggy.
- When you stir liquid into the mushy bread, you should still be able to see some texture, left from toasting.
- Allow this mixture to sit while you prep the rest of the stuffing. Stir occasionally.

- Dice two small onions.


- Melt butter in a large pan.

Tip: If you have a pan that can go from the stovetop into the oven, to the table, use that. If not, a regular fry pan will do.
- Add diced onions to the butter and sauté over medium-high heat until they are translucent. Keep an eye on them and stir often.

- Once the onions are cooked, add seasoning (salt, pepper, granulated onion, and ground sage) to the onions. Mix well and let cook for another minute or two.

TIPS:

 The seasoning is a guideline - adjust them to your liking.

 You don’t wanna have to add much salt because stock/soup base usually has a lot of salt in it, and you can always add more, later on.

 You want the seasoning in the onion to be strong because you’ll be adding all the bread to this.
- Add the mushy bread mixture to the onions and stir well. Continue mixing until you can see everything is evenly incorporated.


- Taste and adjust seasonings to your liking.
- Add a half cup of breadcrumbs to your bread mixture, so that it firms up.

- Continue to stir and mix over low heat, so it starts drying out.
Tip: The mixture should come together like one mass. It will firm up more in the oven once it is baked. However, you can let it cook longer in the pan now, if you want a drier consistency.
- Lightly grease a 9 x 9 baking dish with cooking spray or butter. If you want the stuffing to be thinner place it in a 9×13 baking dish.
- Spoon mixture into baking dish and then press down with a spatula to make it an even layer.

- Cover with parchment paper and foil.
Tip: You can even prepare the stuffing to this point the day before and leave it in the fridge overnight.
- Bake in oven at 350° for 20-30 minutes.
- Insert a butter knife into the center of the stuffing and see if it is hot when it is removed. If it isn’t hot, put it back in the oven, with a cover on it, for 10 more minutes.
- Once it is hot in the center, remove foil and put it back in for 5 minutes to get some colour on the top.
- You can serve it in the pan or scoop it out into a bowl.

Our recipe for the best gluten-free sage stuffing is delicious, and it can be made for those who are dairy-free, lactose-free, vegan, or vegetarian because everyone loves stuffing. And it wouldn’t be a holiday dinner, without it!
Enjoy!

Ingredients
INSTRUCTIONS/NOTES/TIPS
NOTES/TIPS


